I started as most girls do: Pinterest. When my husband told me that we would be building our own chicken coop instead of buying, that is exactly where I went. Granted, if you type in “chicken coop” in Pinterest, you get everything from the 2 chicken hut to a 50 chicken palace. But I had stumbled across one design that I really liked and that is where the inspiration stemmed from.
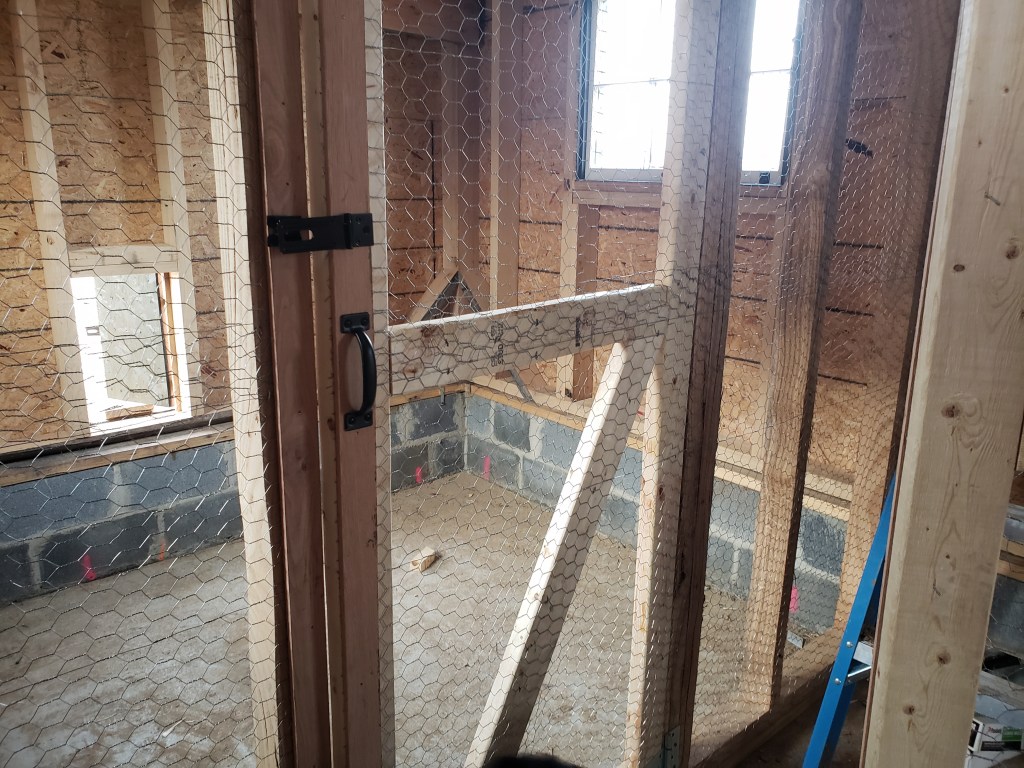
I knew that I really wanted to have a room where I could enter and not be mauled by chickens. I wanted to be able to keep the feed bins free of bird poop and easy to access. I definitely wanted to be able to walk in to the coop to clean and collect eggs, as the previous coop they were in was almost impossible to completely clean. I knew I wanted plenty of space for the birds to roam around inside, and that I wanted removable litter boxes as their nesting boxes. So began phase one of planning (which really began several years ago, but now we were actually going to do something about it!)
My husband, being the more talented home designer, came up with the actual chicken coop plan after I bombarded him with pictures and ideas. We decided that having two bird coops would be smart, and that our walk in room would be in the center of the building. I wanted a chick brooder set up, but that became too much so we focused on the building alone. We picked a spot behind our house that was on a bit of a slope, so the first question came up: do we cut and fill the dirt, grading it level, or do we build a block foundation? Both would create a very different base structure, so we decided on the block foundation. We decided to build the coop approximately 10×20, though it ended up a touch different. It took us all day to square the thing, dig the footers, and then being us, we decided that instead of paying for a concrete truck, we would hand mix the three concrete ingredients to make enough concrete for the footers. We were exhausted by the end of that! We gave the concrete several days to dry and then started on the block work. We sealed the blocks and gave it another couple days before backfilling the foundation.
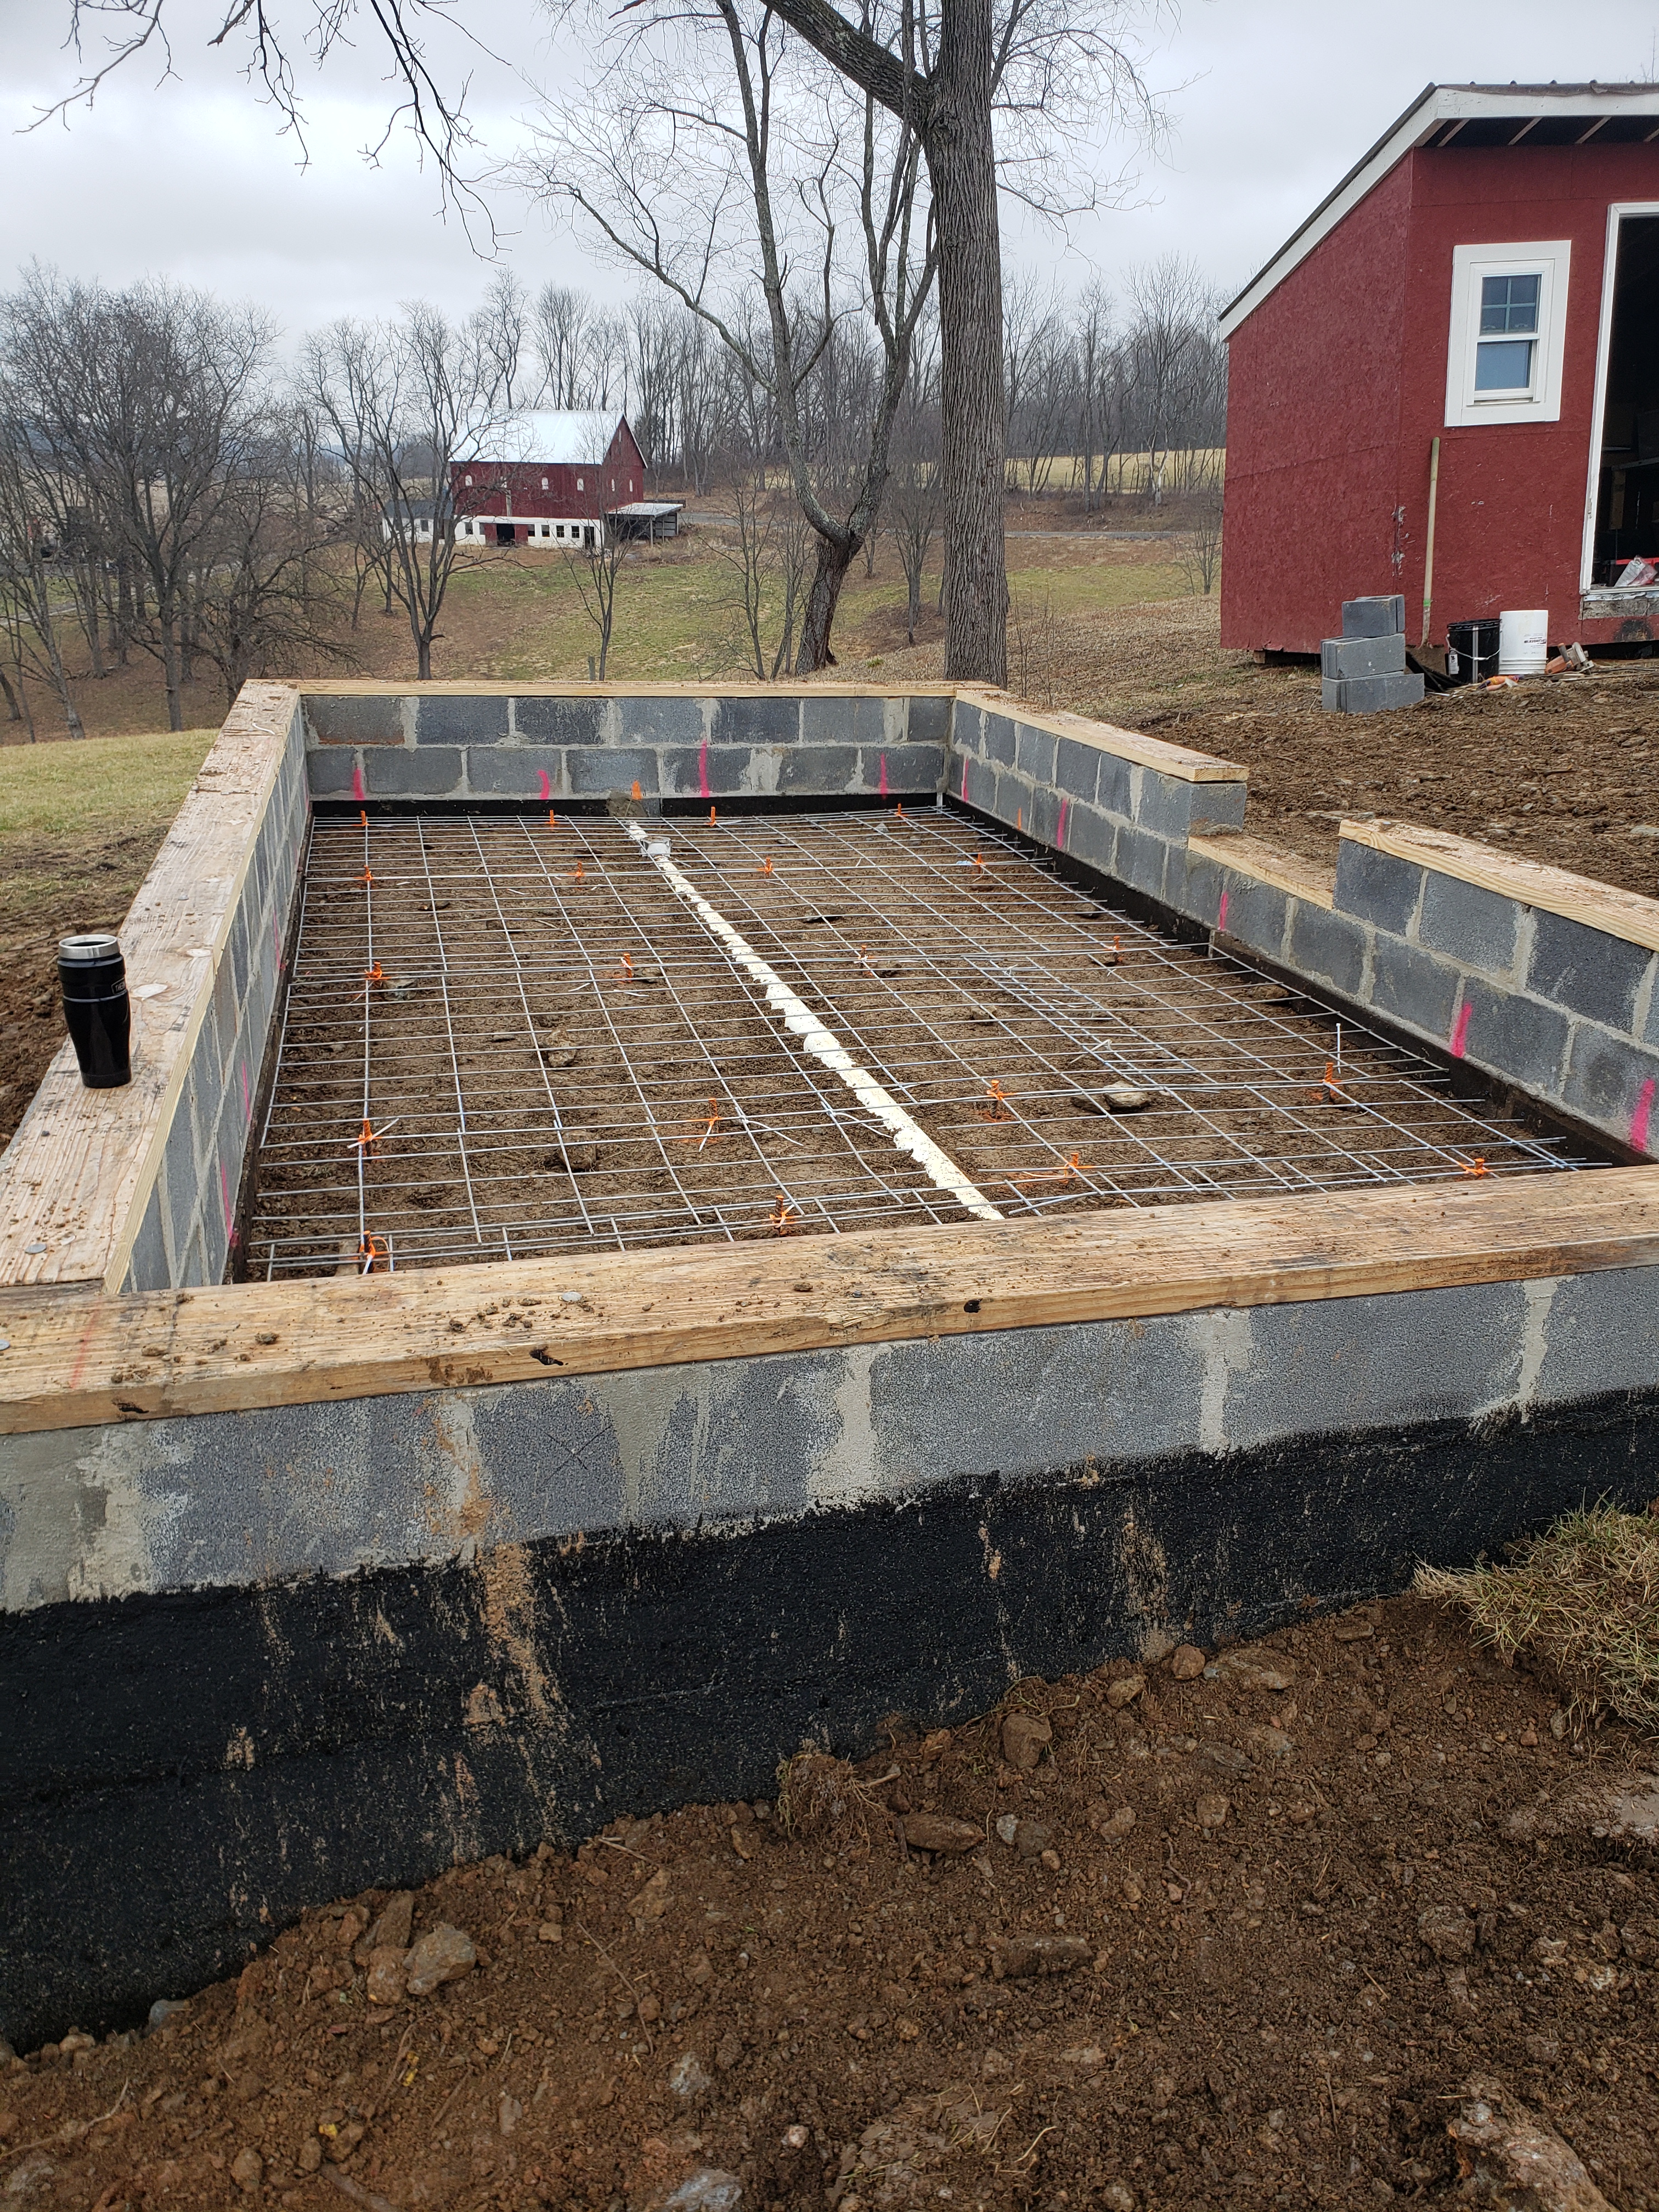
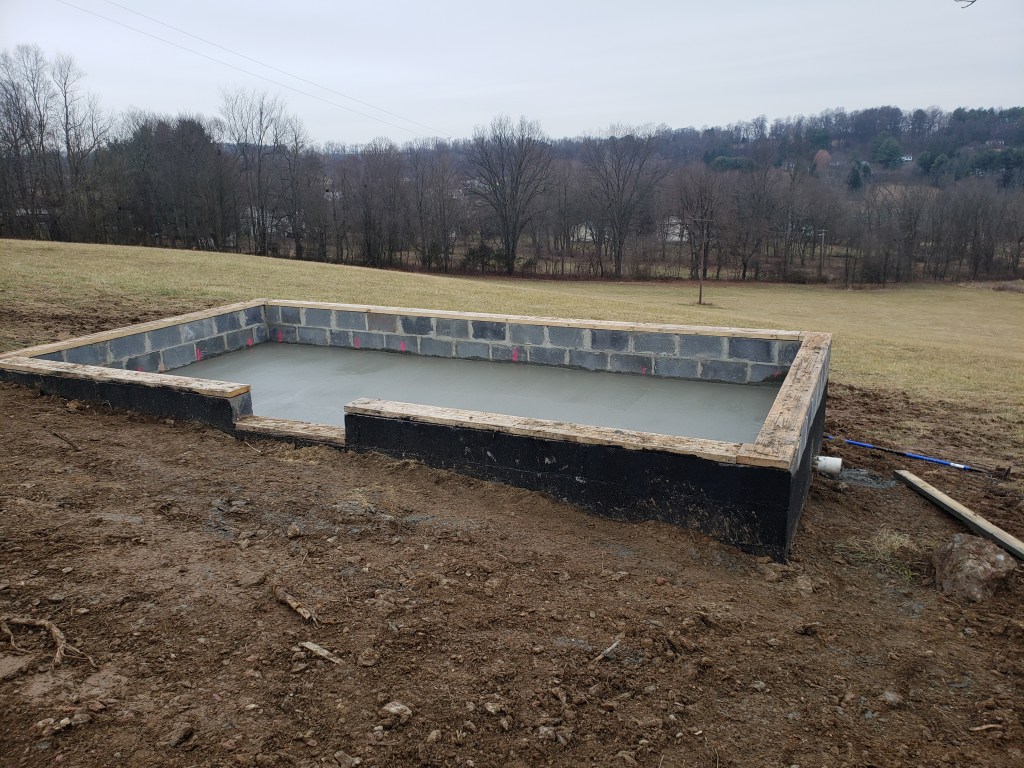
Remember how I said cleanliness was important? Well we decided to add a drain in each pen, so that we could pressure wash the coops out a few times a year. And guess what? This time we did order a concrete truck to come in and pour the floor! We did decide to go with a concrete floor instead of dirt or another alternative, and I understand that this does not allow the birds to scratch, but it created a very easy surface to clean, and the birds will be outside unless they are laying or sleeping. We ended up keeping geese in the other side of the coop and I am so grateful for that concrete floor! Boy are they messy birds.
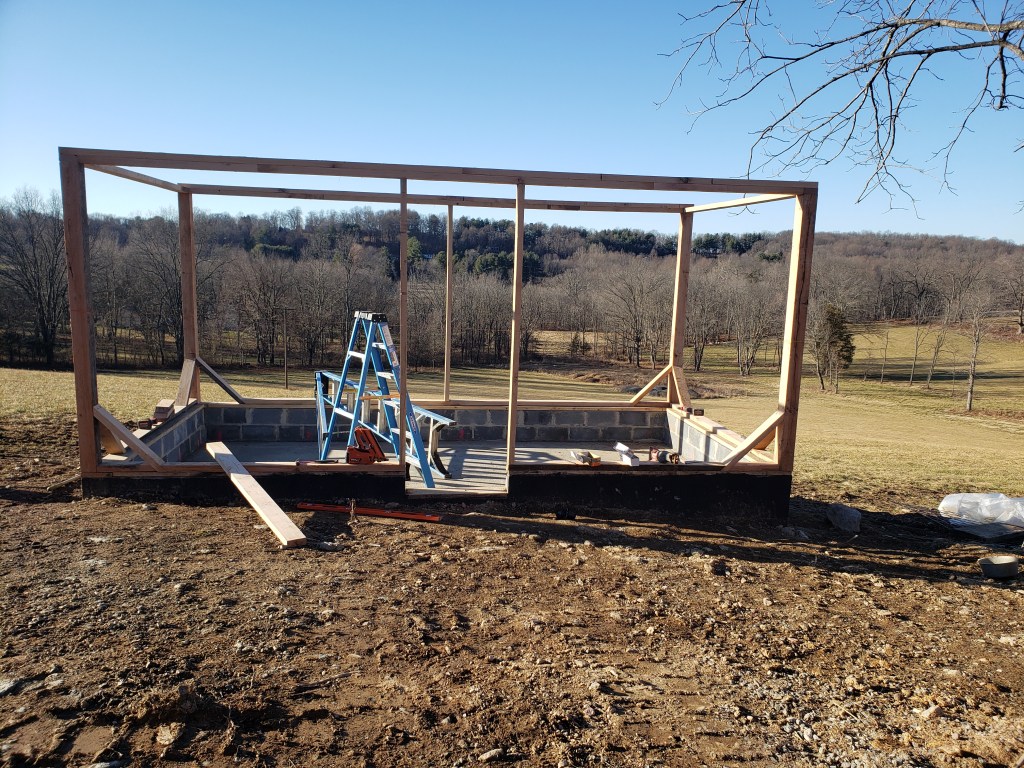
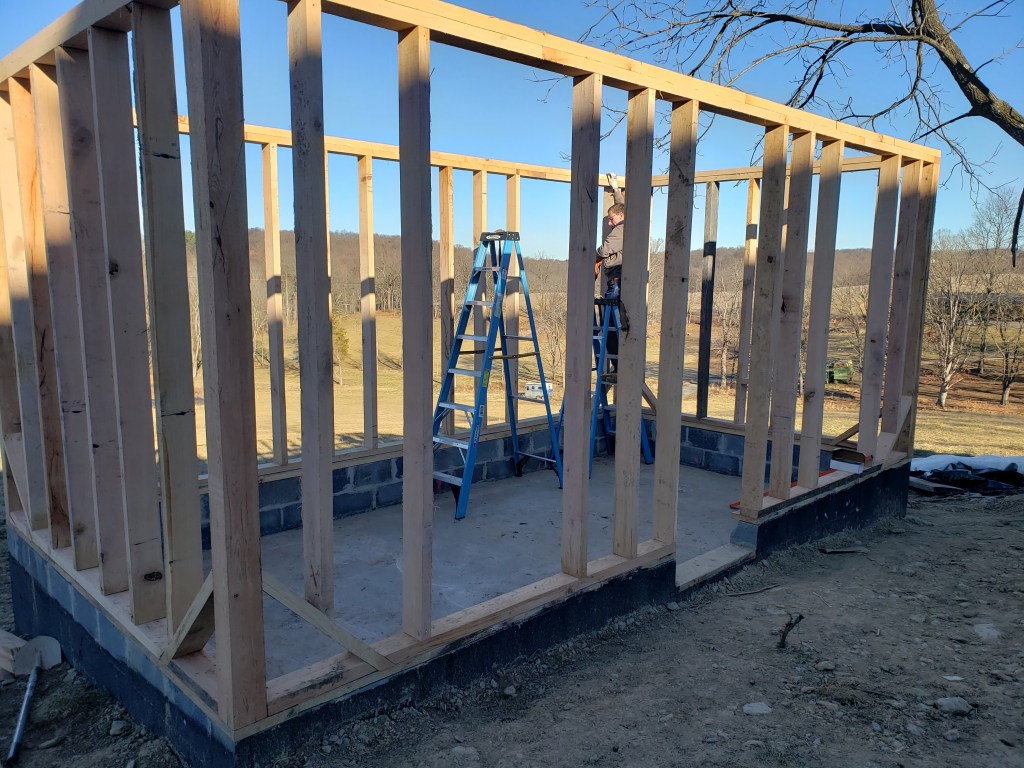
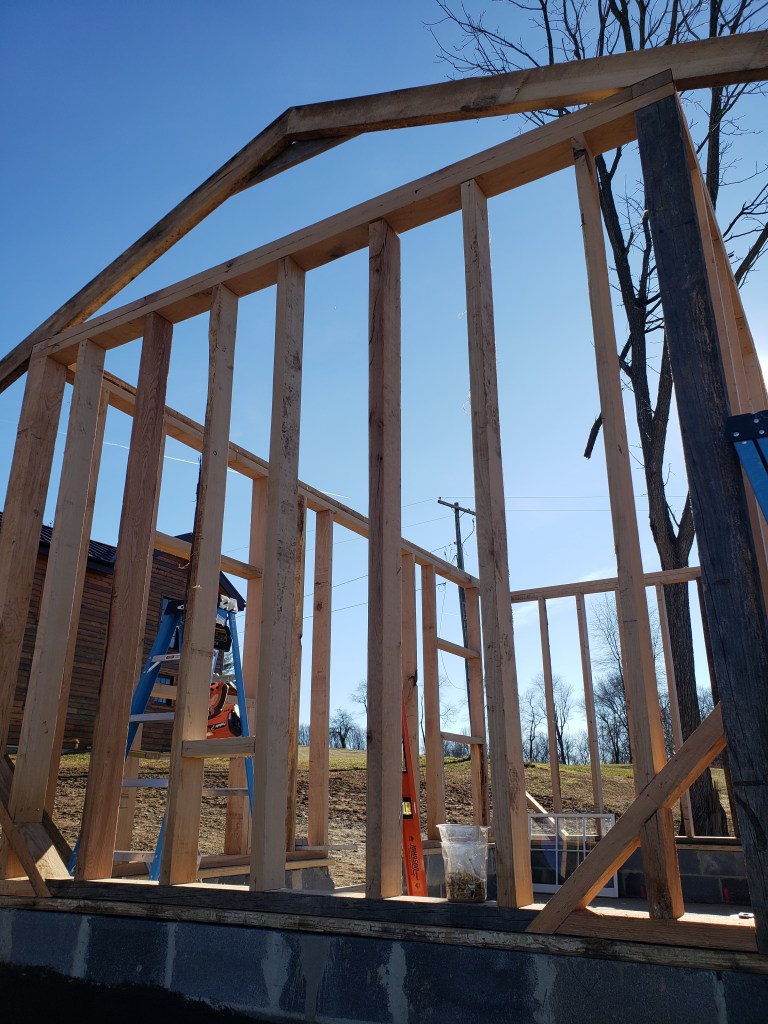
Framing was next; we saw milled our own lumber for this building, so we made 2×4 actual studs out of oak, and 4×4 actuals for the corner posts. We added some corner bracing, and prayed the structure would not blow over in the night. We decided to make rafters instead of trusses, and set them by hand. We had never notched our own rafters before, but after studying hard enough and attending an hours worth of the Youtube academy, we figured it out! Once we had a lay out it was rinse, wash, and repeat. Of course we came up 4 pieces short, so the next morning we went straight to the mill and finished the lot.

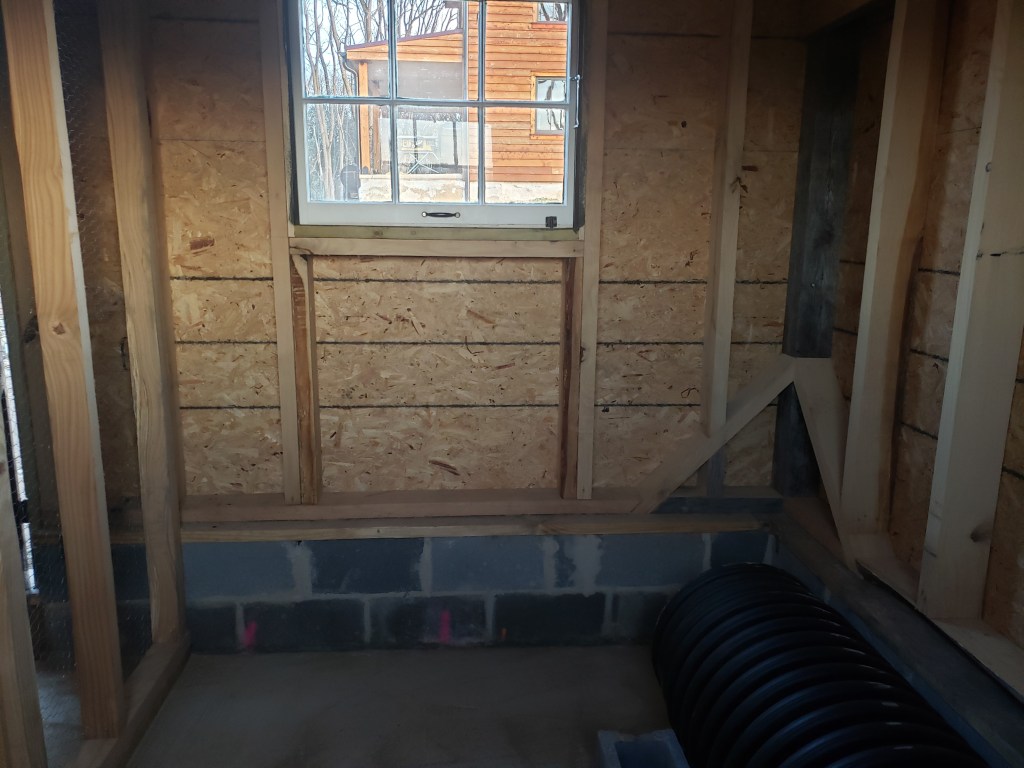
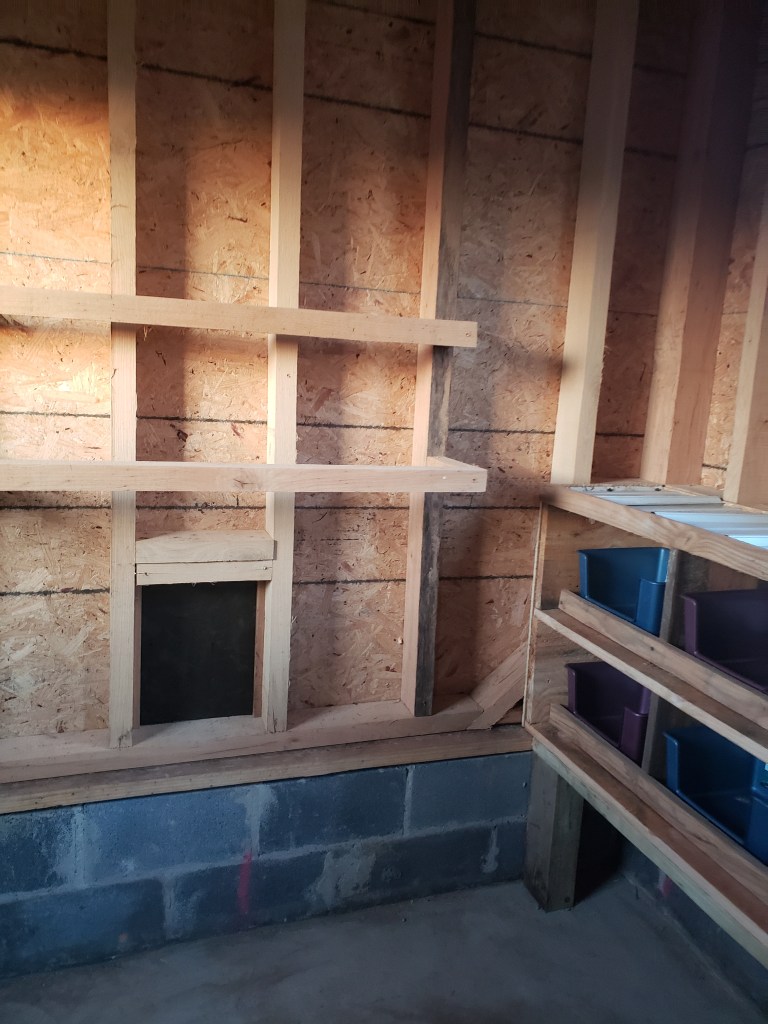
I forgot to mention some smaller details we added! We both wanted windows, so we went to the local antique dealer and bought 5 windows for $5 a piece! We also had a door that we salvaged from our house renovation, so we prepped that and painted all components to match the house. We also decided to add a clean out hatch on the chicken side that we can open up when doing a full clean out of the pens. That way we can park a tractor with a bucket right up next to the hatch and scoop all the poop and straw in to the bucket. Once the framing was complete we worked on adding the metal roof. We really wanted to make it purple to match the house, but we only had a hack of black, and seeing that it is a relatively neutral color and a lot more affordable than the house metal was, we stuck with that. We also added a small cupula that we painted black and had our metal trim guy install when he added the roof trim and gutters. Once the roof was done, we went on to the siding. We had cedar siding left over from the house project, so that was what we naturally gravitated toward. We did put plywood and Tyvek underneath the siding for additional rigidity and weatherproofing. We added mesh under the eaves instead of wood to add to the ventilation of the coop.
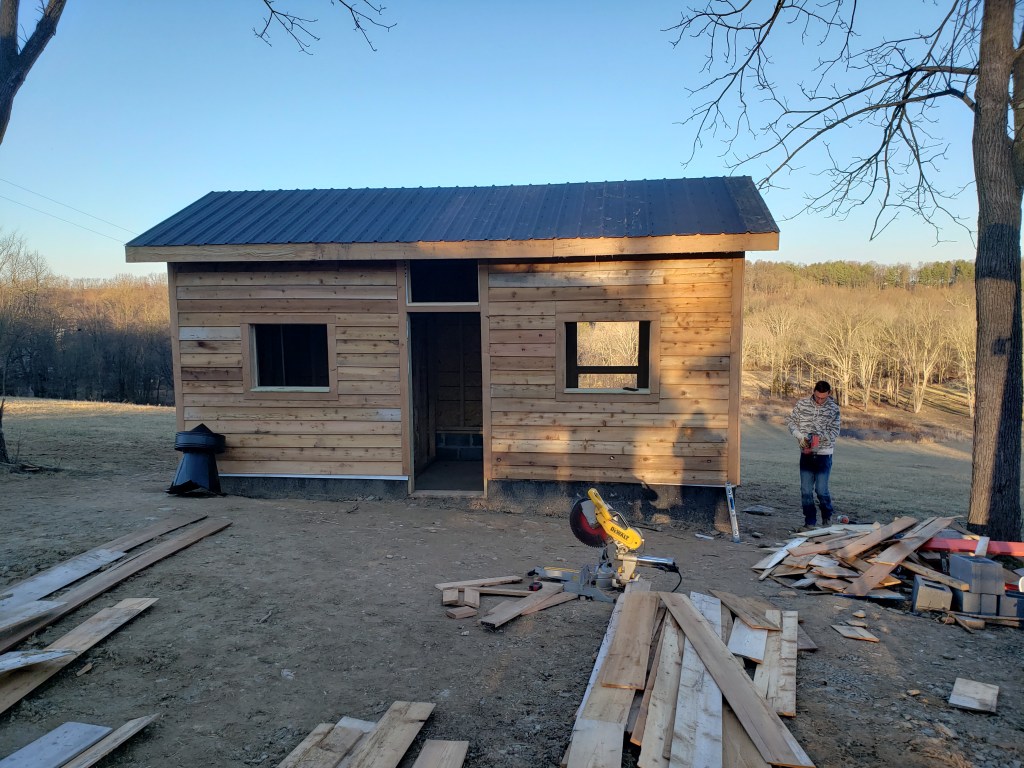
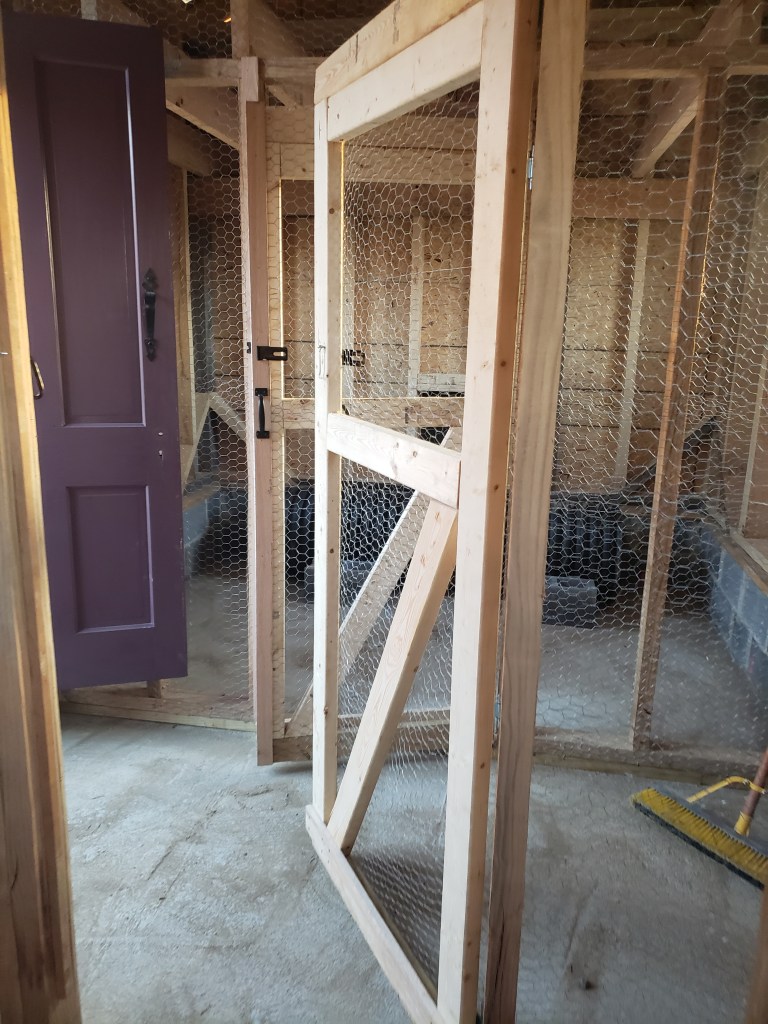
After the siding was installed, easier said than done, we trimmed everything out and worked on installing windows and the door. We made the windows so that they can hinge to the outside during the summer. We made the door swing inside, theoretically so that I could push in to any birds that may be in the hallway for some reason, and we added a lock on both the inside and the outside. It took us about a day to install all the hardware, but once that was done, we were able to finish up the coop by adding the interior framing, mesh, nesting boxes, perches, and a loft above the goose section. We even installed some shelves above the feed bins!
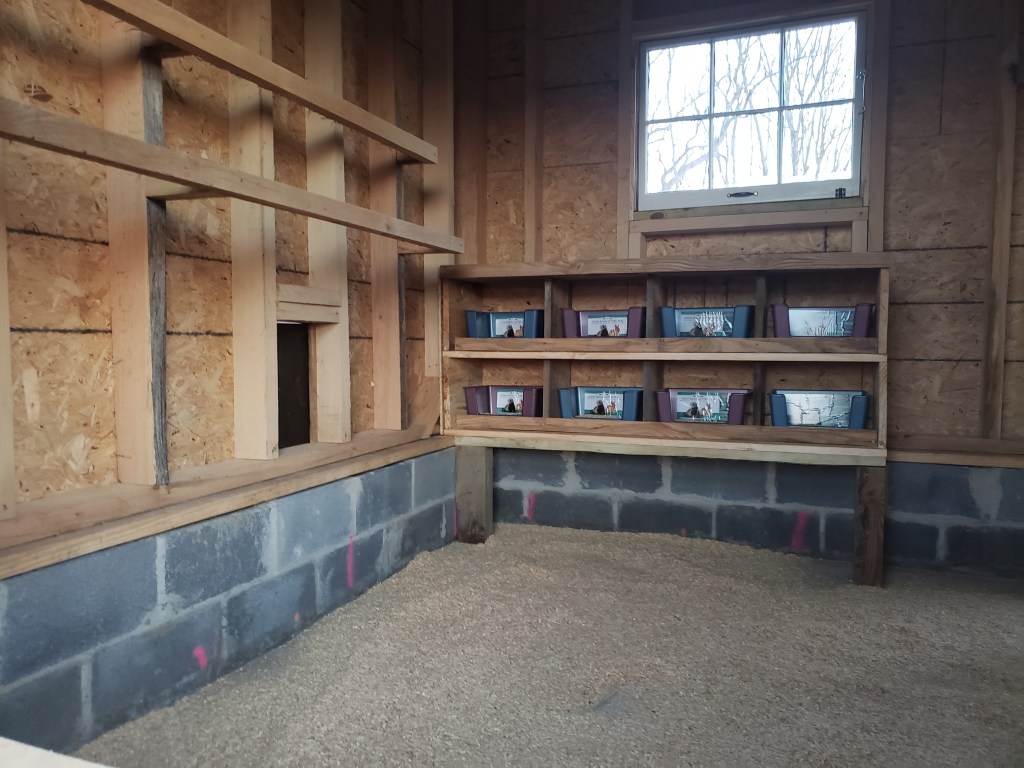
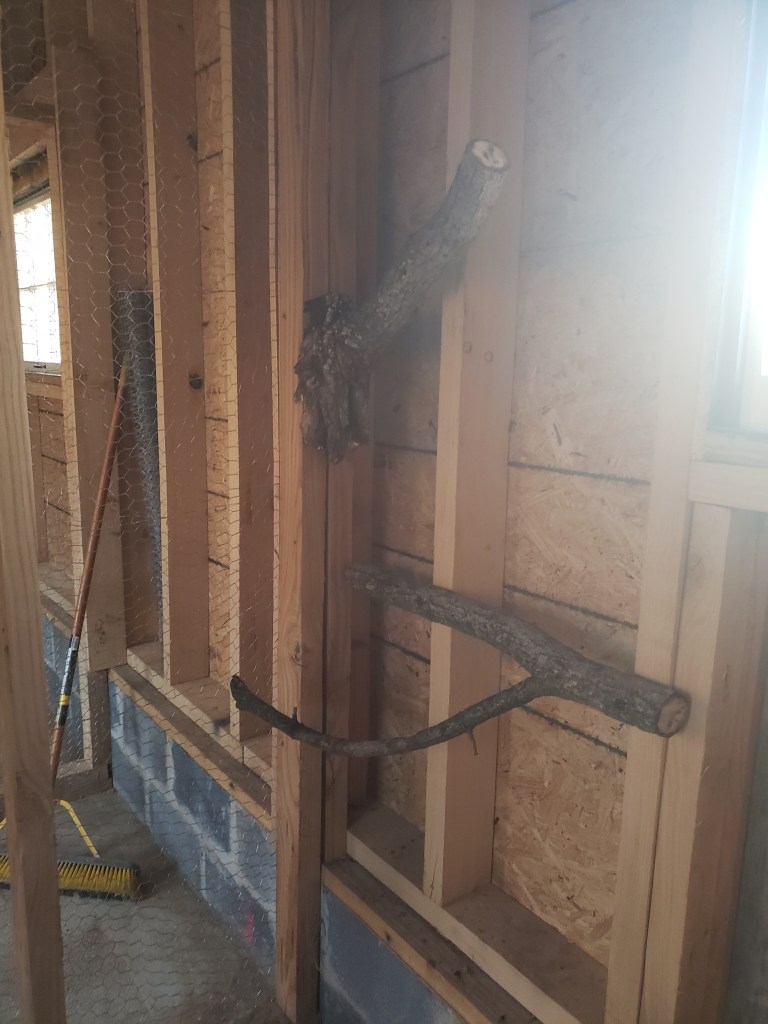

I really wanted a couple actual branches as perches which is why we have those as well as 2×2 bars. The chickens mostly use the bars, though I have a couple that use the branches. Once we get more chickens, I am sure more of the space will be used. The chickens settled in quite nicely, and there really isn’t much I would change about this layout. I bought some ducks and my husband bought geese, and the geese were picking on the ducks, so now the geese have an entire section to themselves while the ducks reside with the chickens. We are thinking that we will probably build a small coop for the geese, maybe next to the pond, as they don’t really need to be inside the coop, and that would free up space for growing chicks as well as more ducks. We will also be adding a run to the coop, but for now everyone is free ranging and absolutely loving life!

Leave a comment